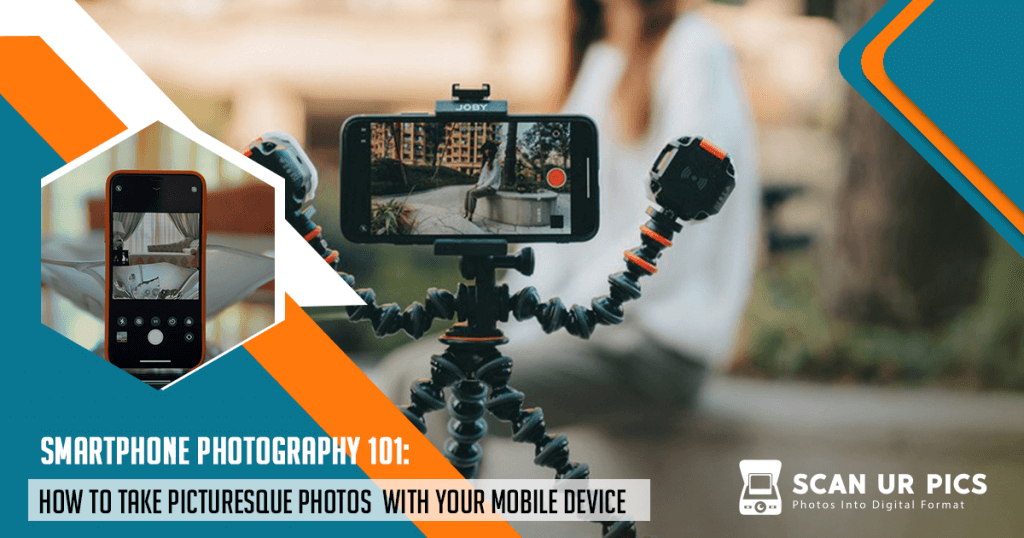
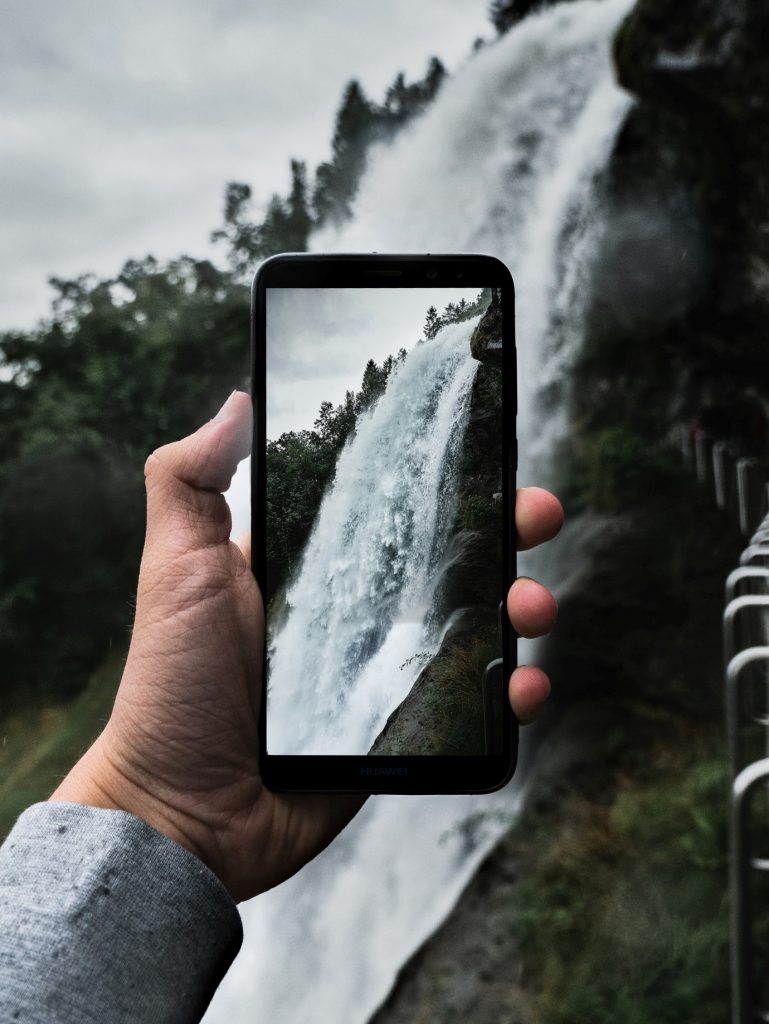
Nowadays, smartphone cameras have become a major selling point for consumers. Renowned smartphone brands like Apple and Samsung have bragged about how their product’s photography feature is ‘on par’ with the professional digital cameras. This means taking a picturesque photo on the go is more feasible than ever before and the option will always be available as long as they have their smartphone ready in their pocket or handbag.
Even with latest model of smartphone from either Apple or Samsung, there are still many things you need to understand to continually capture picturesque photos with your mobile device. Here are some tips that you can follow.
Clean the lens of your smartphone
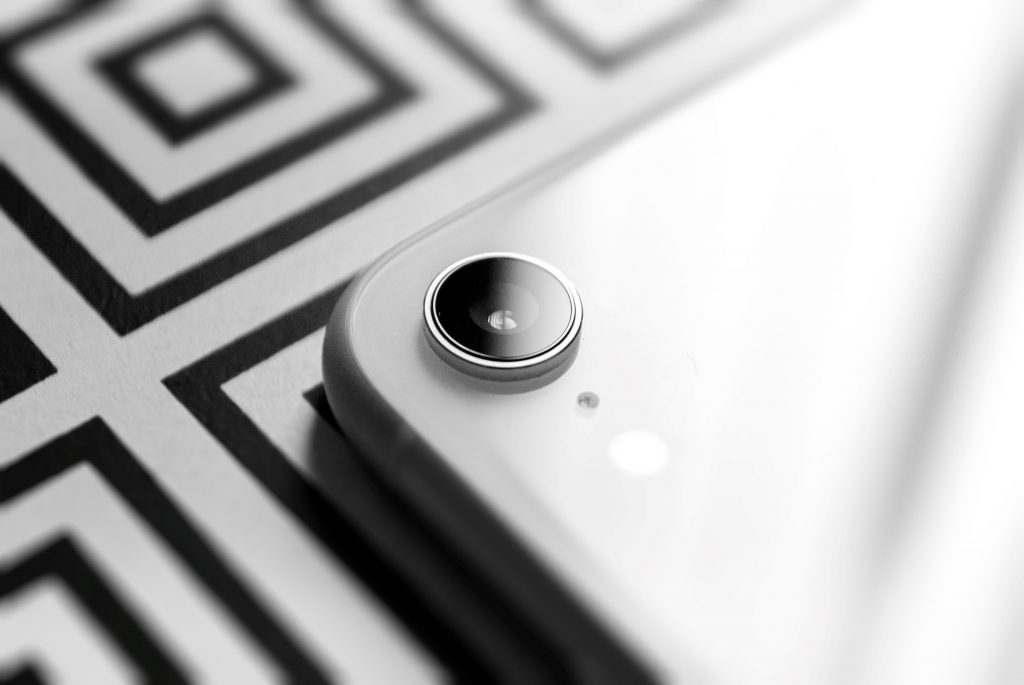
It may sound like an insignificant task but as your smartphone spends most of the time either in your hands, pocket or bag, eventually it gets covered in dust. As this happens, you probably won’t notice the resulting in smudges, blurs, or dust spots on your photos, but they will undoubtedly affect the quality. A good plan is to always have a soft cloth or tissue available to clean it. You can blow the dust first and wipe it clean with the soft cloth, then you are ready to take a picture.
Set the focus on your smartphone camera
By default, the camera focus on your smartphone will be set on auto mode, which means it will automatically choose which objects will be in focus. For example, in the latest models for both Samsung and Apple; Galaxy Note 20 Ultra and iPhone 12 Pro Max; the autofocus function detects the eye, face, mouth, body and other features to act as the focus object. Therefore, by selecting one of these objects you will get a detailed look of the target which can result in a Bokeh effect. By tapping on the smartphone screen, you can select the object or area that you want to focus on and the system will acknowledge it as the main focus.
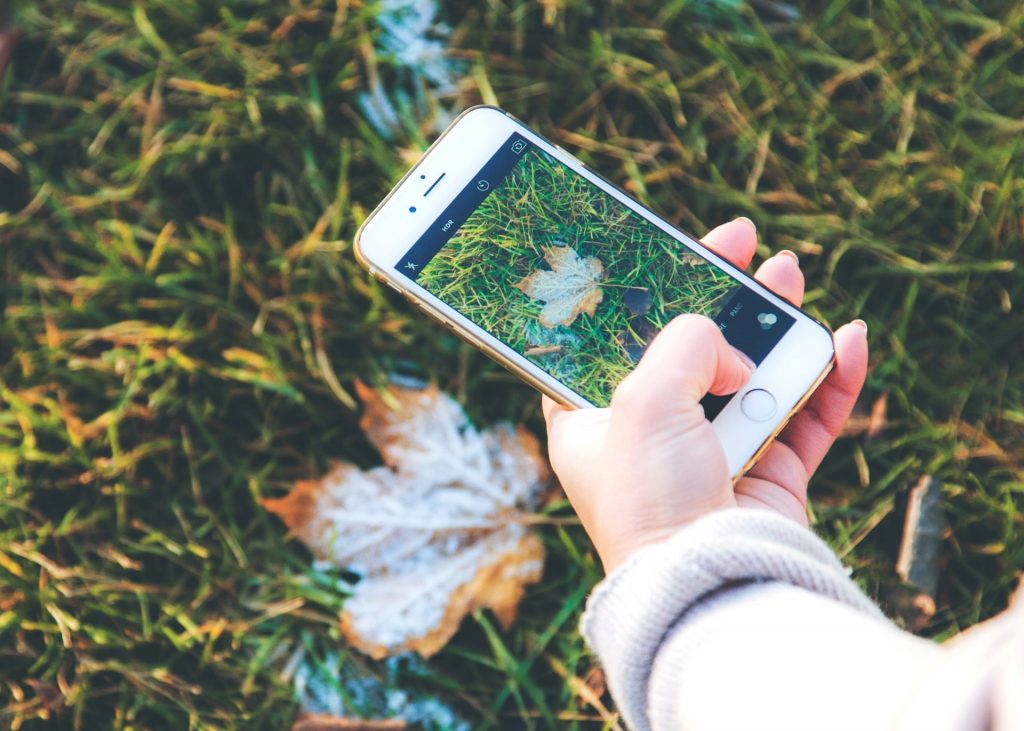
Use the gridlines as the rule of thirds guidance
One of the fundamental rules in photography is the rule of thirds where you imagine breaking an image down into thirds (both horizontally and vertically) so that you will have 9 parts of an image. By doing this you will get a better understanding of where the main object of your photo should be placed to get the most picturesque photo. In the smartphone, the camera application has a gridline feature that can be turned on to help you stick to this handy rule.
Shaky hand? Use a mini tripod

Not everyone has stable hands while holding a smartphone to take a picture, knowing this, smartphone brands reinforce its camera feature with stabilisation. However, even with their latest model, a blurry picture can still occur if there us movement while holding the phone. In these occasions, a mini tripod can help. By placing your smartphone on a mini tripod and thereby stationing it on a flat surface, the phone will be steady and result in a clear non-blurry picture taken. Why use a mini tripod and not the standard? Because the standard tripod commonly used with a professional digital camera and comes in a large size and is quite heavy, while the mini tripod is the complete opposite. Additionally, using a mini tripod gives you the convenience of taking a group photo, where you can place the phone anywhere and set a timer, range from 3-15 secs.
It’s a matter of perspective
Your perspective may differ from others resulting in a unique point of view. This same principle applies in smartphone photography, where the perspective here can be translated as the angle. Taking a single object from different angles will create a different story for each picture taken. Try taking a photo from a low angle and play with the sky as your background to create an illusion of depth or height or from the side of the object for a sense of continuity.
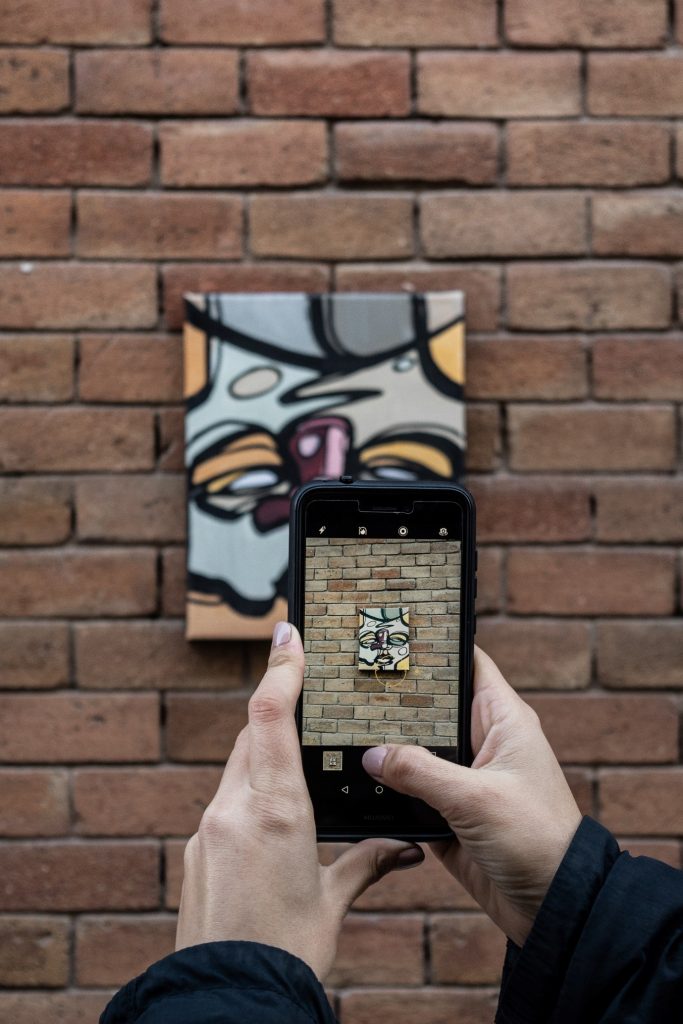
Don’t use Zoom! Use Cropping Instead
If you noticed that your main object for the photo is located quite far and wanted to focus on it, most of the people will use the zoom-in feature on the camera application, don’t. It may look fine on the phone screen but in reality, after you transfer it to the computer or even print it, resulting in the photo appear grainy, blurry, or pixelated. This is because of the fact that the smartphone camera lenses are not as advanced (yet) as a professional digital camera. As such, its zoom-in feature is software-based while the actual digital camera is hardware-based. Instead, take a picture without zooming-in and then use the crop feature on the smartphone to focus on your desired object, resulting in much better picture quality.
Natural light is the best lighting
Just like a digital camera, a smartphone camera has the flash feature to help capture the picture If you have limited light. However, this flash is not as good (yet) many digital cameras. Usually, a picture was taken with a flash applied will look overexposed and make any human subjects look a little washed out. There’s another basic photography rule called the Triangle of Exposure which consists of camera iso, lens aperture and shutter speed. If correctly done, this triangle of exposure will greatly improve pictures taken in low-light conditions. However, those 3 features are rarely found in the native camera app of a smartphone, even the flagships. Therefore, utilising the natural light is the best way to get improved lighting for your photo. Depending on the time, the natural light may result in a bluish, whitish, or even yellowish hue which can be edited easily in the smartphone picture editing app.
Improve the theme with the Editing process

This step might be the most important one when it comes to creating truly picturesque photos. Following the above tips, you might have been able to snap a better-looking picture than your previous one, but it chances are it could be visually improved by good editing. Several smartphone applications like Adobe Lightroom, Snapseed, PicsArt and VSCO have built-in free filters that you can apply on your photo to produce a colourful themed picture. Our suggestion is to try manually editing, and explore the colours, brightness and many more aspects that can take your pictures to another level.
Everyone can take a picturesque photo!
No matter what phone brand you are using, if you are following the tips above, you are guaranteed to snap some breath-taking pictures! However, not everyone has access to a quality smartphone and some images are taken using a non-digital or even polaroid camara. These printed photos are at risk of being damaged due to age or several other external factors.
The solution is by preserve the old photos by digitising them, which can be done easily with the help of our team of experts in photo scanning service Perth. Just give us a call today!